How to use the allen wrench properly and avoid stripping the screws? Here are the steps and explanations that dimulti have prepared just for you!
Using an allen wrench entails a series of steps that are important to follow so that the process of tightening or loosening screws and nuts can be done safely and effectively.
Here is a comprehensive guide that explains each step in detail, from preparing the tools and checking the condition of the allen wrench, to the proper techniques to use when working with different sizes and types of screws and nuts.
Also Read


By following this step-by-step guide, you will be able to make the most of the allen wrench and avoid potential problems that could arise during the repair or assembly process!
Table of Contents
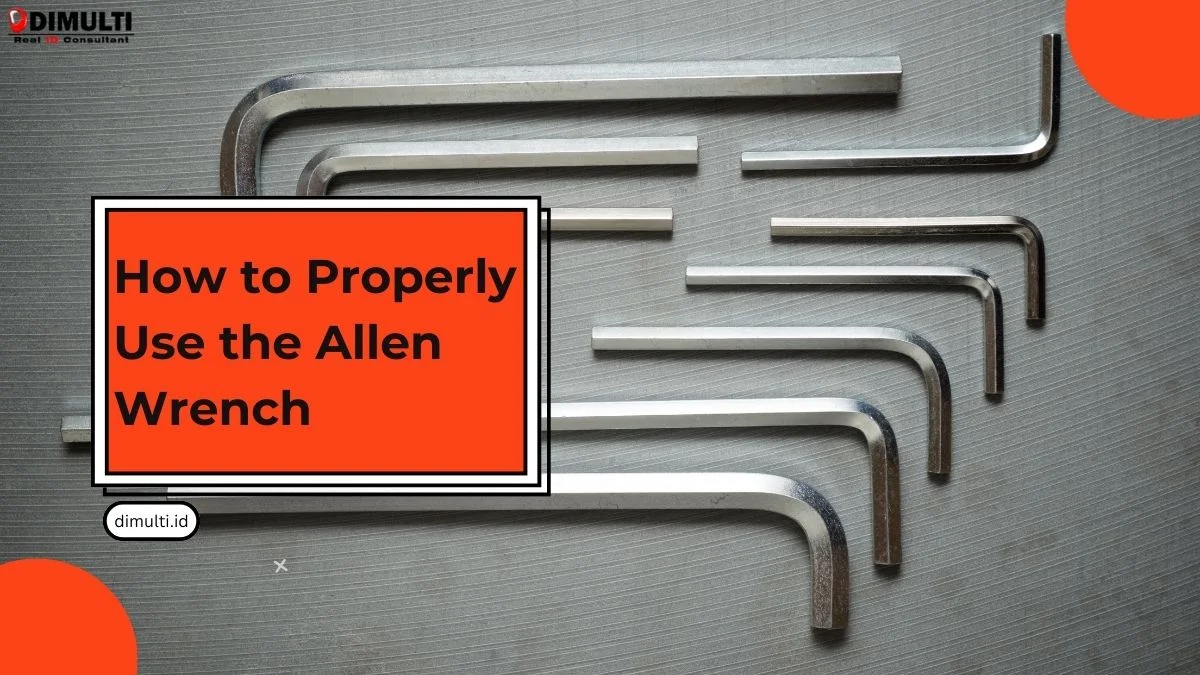
How to Use the Allen Wrench

1. Pick the Right Size and Head of the Allen Wrench
Make sure the allen wrench you choose has the right head that matches the type and size of the bolt or nut you will be working with.
The head of the allen wrench should fit to the profile of the screw or nut, so that it can attach more securely and stably.
This is important to ensure that the allen wrench can not only tighten or remove parts efficiently, but also prevent damage to the head of the screw or nut and reduce the risk of slipping that could cause injury or further damage.
Always check the suitability of the size and shape of the allen wrench head before use to ensure that the tool meets the specific needs of the job to be performed.
2. Insert The Allen Wrench Completely Inside The Screw Head
Once you have selected the appropriate allen wrench head, the next step is to carefully place it on the bolt or nut that needs to be tightened or removed.
Make sure that the allen wrench head fits completely into the screw or nut slot and is in the right position.
The wrench head should fit tightly and be parallel to the screw, so that you can maximize the grip and minimize the chance of slipping.
Also, it is important to ensure that the allen wrench head is not tilted or too loose, as this could cause damage to the component both to the screw or the allen wrench itself.
Visually check the position of the allen wrench head and check its fitting before starting work to make sure the optimal and safe results.
3. Hold Into The Allen Wrench’s Lever
Grip the allen wrench handle or lever with a firm and steady hand to ensure optimal control during use.
Make sure the allen wrench handle is in a comfortable position in your hand, so you can work more effectively and reduce the risk of injury.
The wrench’s handle should be held with enough pressure to provide full control without causing excessive stress on your hand or wrist.
Ensuring a comfortable and stable position will allow you to apply the necessary force with precision, as well as minimize the chances of the tool slipping that can cause potential damage to the allen wrench.
Also Read: “Functions of Allen Wrench“
4. Rotate the Allen Wrench
The next step is to rotate the allen wrench, start by turning the allen wrench clockwise to tighten the bolt, or counterclockwise if you need to remove it.
Be sure to apply enough torque to suit the needs of the task you are performing, so that the bolt or nut can be effectively engaged or disengaged.
However, it is important to be careful and avoid applying excessive force, as this can cause damage to the bolt, nut, or even to the connected components.
Turn the allen wrench carefully and adjust the pressure based on the type and size of the bolt or nut being worked on, and ensure that the tools and components that you are working with remain in good condition and are not deformed or damaged.
5. Check For the Precision of the Bolt or Screw
Once you have finished tightening or removing the bolts or screws, the next step is to check your work.
Check that the bolts or nuts are properly seated, ensuring that everything is in the right position and tightened properly with no gaps or instability.
If you are removing bolts or nuts, make sure that there is no debris or damage to the connected components.
Always check that the bolts or nuts that have been installed show no signs of damage, such as deformation, thread damage, or looseness.
Make sure that there are no potential problems that could arise due to incomplete installation or disassembly.
There you have it! A complete guide on how to use the allen wrench!