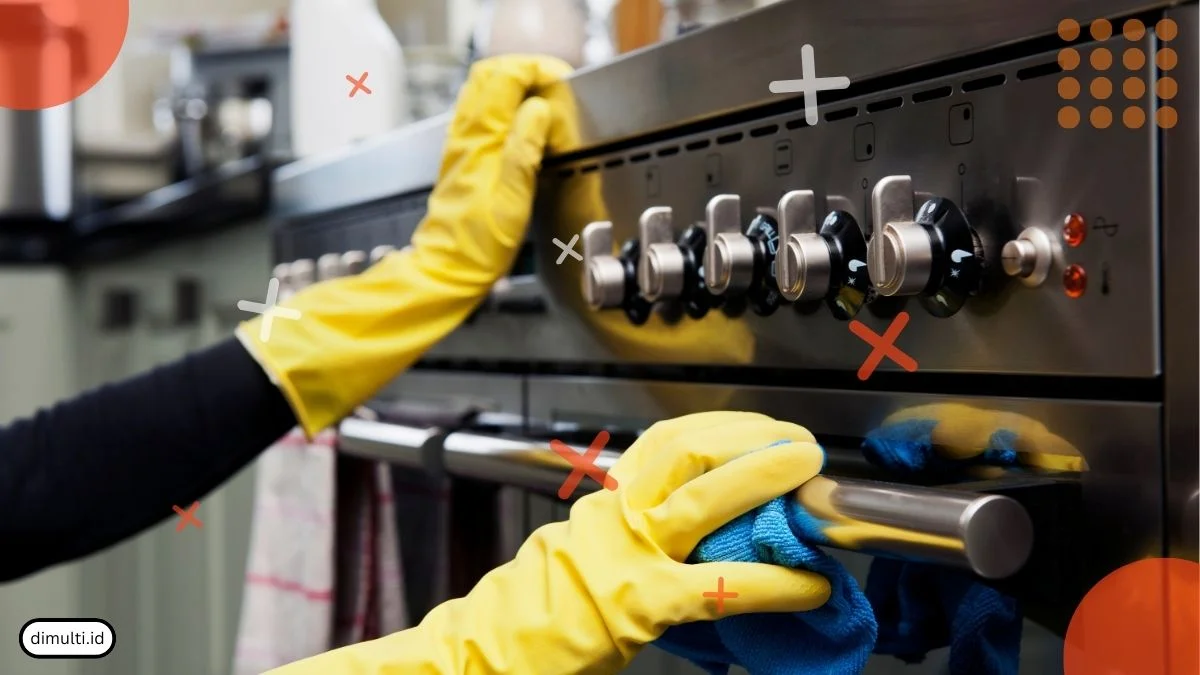
How to clean an oven? You can do it with these six steps to ensure that your oven stays clean and safe for your everyday’s needs!
Kitchen appliances should be cleaned regularly, including the oven especially when you are constantly using them.
A dirty oven not only does this make the oven look unattractive, but it can also accelerate the deterioration of our cooking appliance.
Also Read


And on top of that, a dirty oven will pose a risk as the accumulated food scraps that are left inside the oven can be a great spot for bacterias to grow.
While cleaning the oven cannot be done in the same way as washing pots and pans, it is important to schedule a cleaning at least every three months.
The stains can cause bad odors and affect the taste of the food being prepared. Therefore, regular and thorough cleaning is essential to maintain the health and performance of the oven, and ensure that every dish served remains delicious and safe for consumption.
So, in today’s article, dimulti will give you a thorough guide on how to clean an oven. Dire to see more? Check out the explanation down below!
Table of Contents
How to Clean an Oven
1. Clean the Rack
If you want to clean your oven thoroughly after use, a very important first step is to cut off the electricity and make sure the oven temperature has returned to normal. Safety is the top priority before cleaning after all.
After that, the first thing that needs to be cleaned is the oven rack, as this part is often exposed to stains and food debris.
To clean them effectively, you can use various cleaning supplies such as microfiber towels or cloths that are excellent for wiping away dust and dirt without leaving scratch behind.
Soft sponges are also useful for lifting more stubborn stains, while toothbrushes can reach those tight corners that are hard to reach.
Be sure to use a powder or liquid detergent that is safe for kitchen appliances, as this will help remove grease and food stains effectively.
Finally, a bucket will make it easier for you to mix the water and detergent and collect the cleaned dirt.
Here’s some steps to clean the rack!
- First, place a cloth on the bottom of the bucket, then place the oven rack on top of the cloth.This will prevent the oven rack from being scratched by the bucket.
- After that, fill the bucket with water while adding detergent little by little. You can use hot water or cold water, but hot water is recommended to help clean the dirt on the oven rack.
- Then, let the oven rack soak for 6-10 hours, then gently scrub the oven rack with a sponge or toothbrush.
- The next step is to rinse with cold water and dry the oven rack before putting it back into use.
2. Use Baking Soda and Water Mixture
After cleaning the oven rack, the next step is to clean the oven body. For this, you can use effective natural ingredients, such as baking soda and water.
Mix the two ingredients until the texture becomes slightly thick, like a paste.
Apply this mixture to the inner surfaces of the oven, especially in areas that are affected by stubborn stains.
3. Let the Mixture Soaked
Usually, the mixture will turn brown-ish color after you apply it to your oven, and that’s totally okay as it the signs that the mixture works its charm
After applying it to the entire surface of the inside of your open, leave it on for a few minutes or better overnight for the baking soda to function optimally.
Also Read: “Parts of an Oven: A Quick and Thorough Guide!“
4. Wipe the Oven
After the oven has sat for 12 hours, use a damp cloth to effectively clean the inside of the oven.
Make sure to remove any residue of the baking soda mixture that may still be attached. If there are hard parts that are difficult to clean, you can use a spatula to gently scrape them off.
This will help remove the remaining dirt without damaging the surface of the oven. Once everything is clean, wipe again with a clean cloth to remove any residue.
5. Use Vinegar
After cleaning, put the white vinegar liquid into a spray bottle.Spray the vinegar over the entire surface of the oven, including the previously cleaned areas.
Don’t worry if foam appears; it’s the reaction between the vinegar and baking soda that signals the cleaning process is underway
6. Put the Oven Rack Back
After making sure the inside of the oven is fully dry, you can put the oven rack back in. Make
sure the rack is securely in place.
Well, there you have it! The steps of how to clean an oven!
With these steps, your oven will be sparkling like new and ready to be used again to cook your favorite dishes.
Enjoy the cleanliness and optimal performance of your oven, making every meal tastier and healthier!